-

Innovative Growers Equipment and LettUs Grow Announce Partnership to Bring Advanced Aeroponic Technology to North America
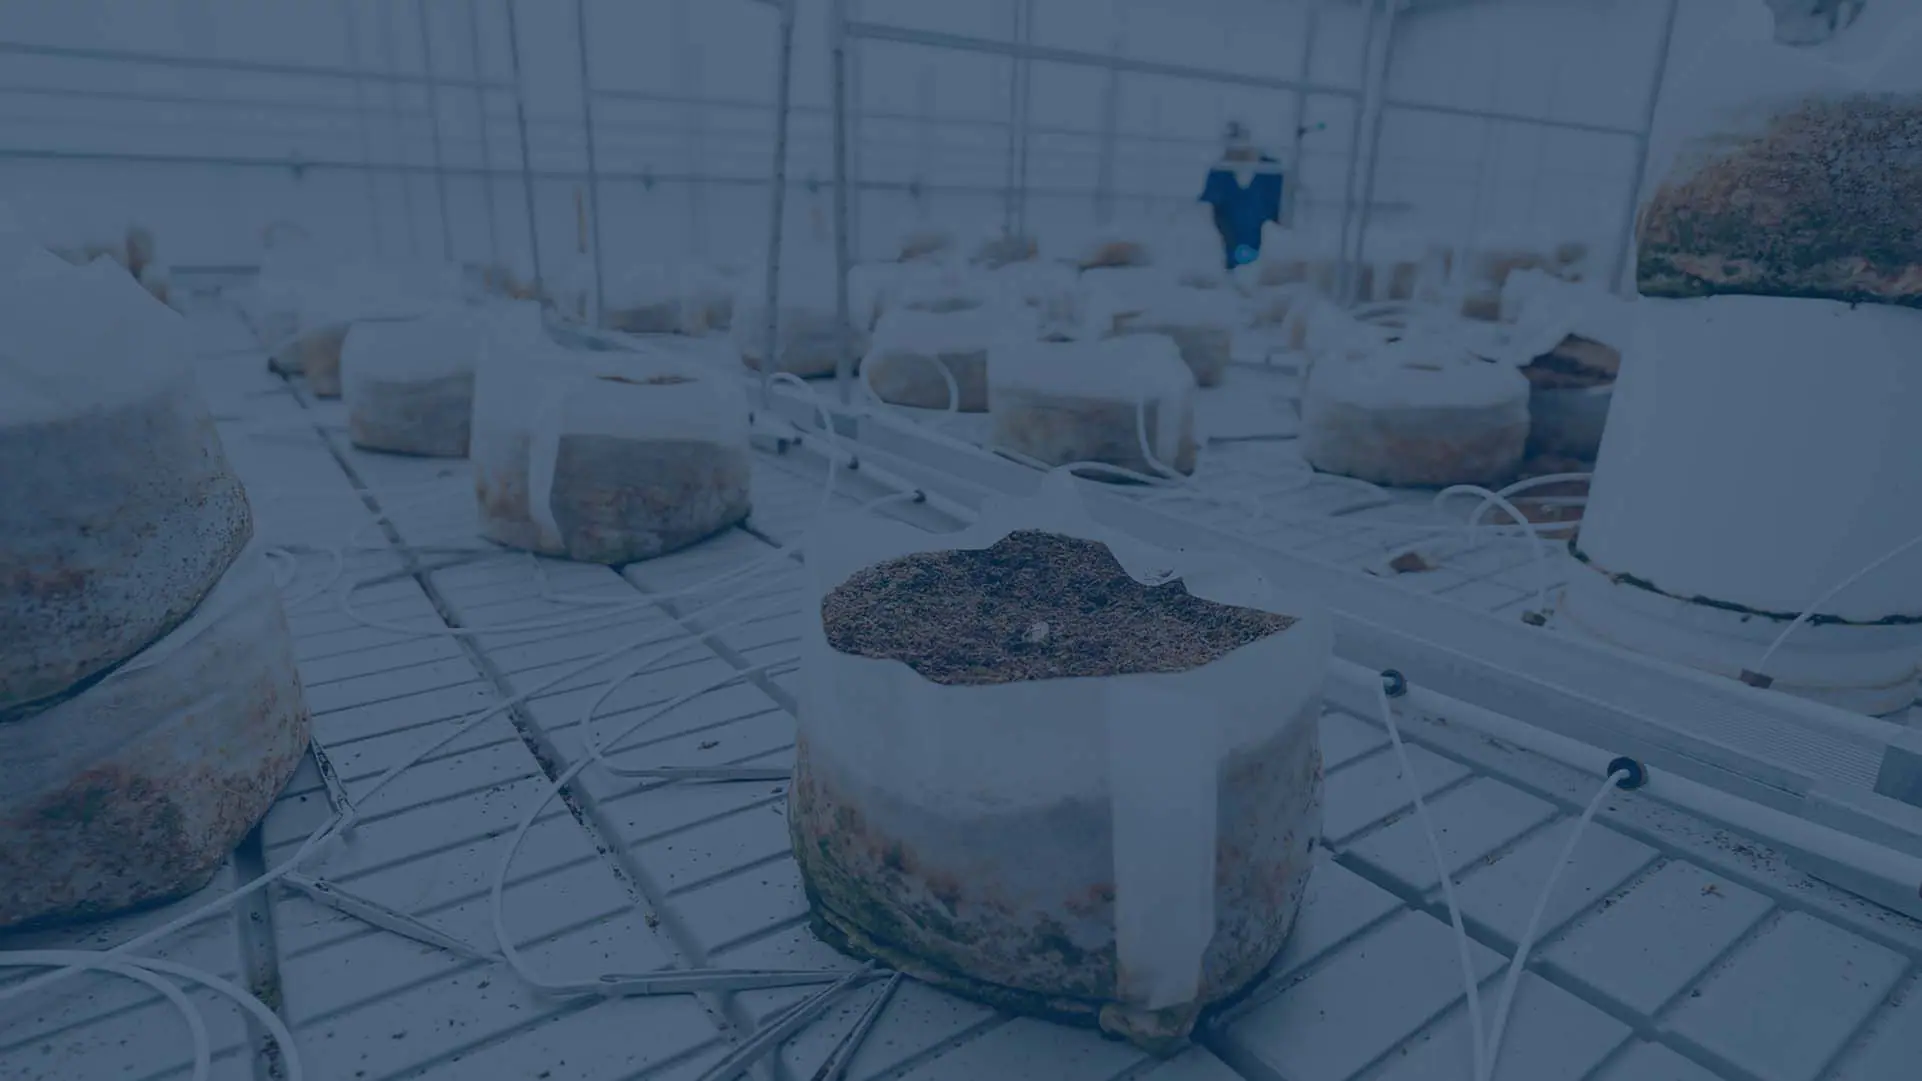
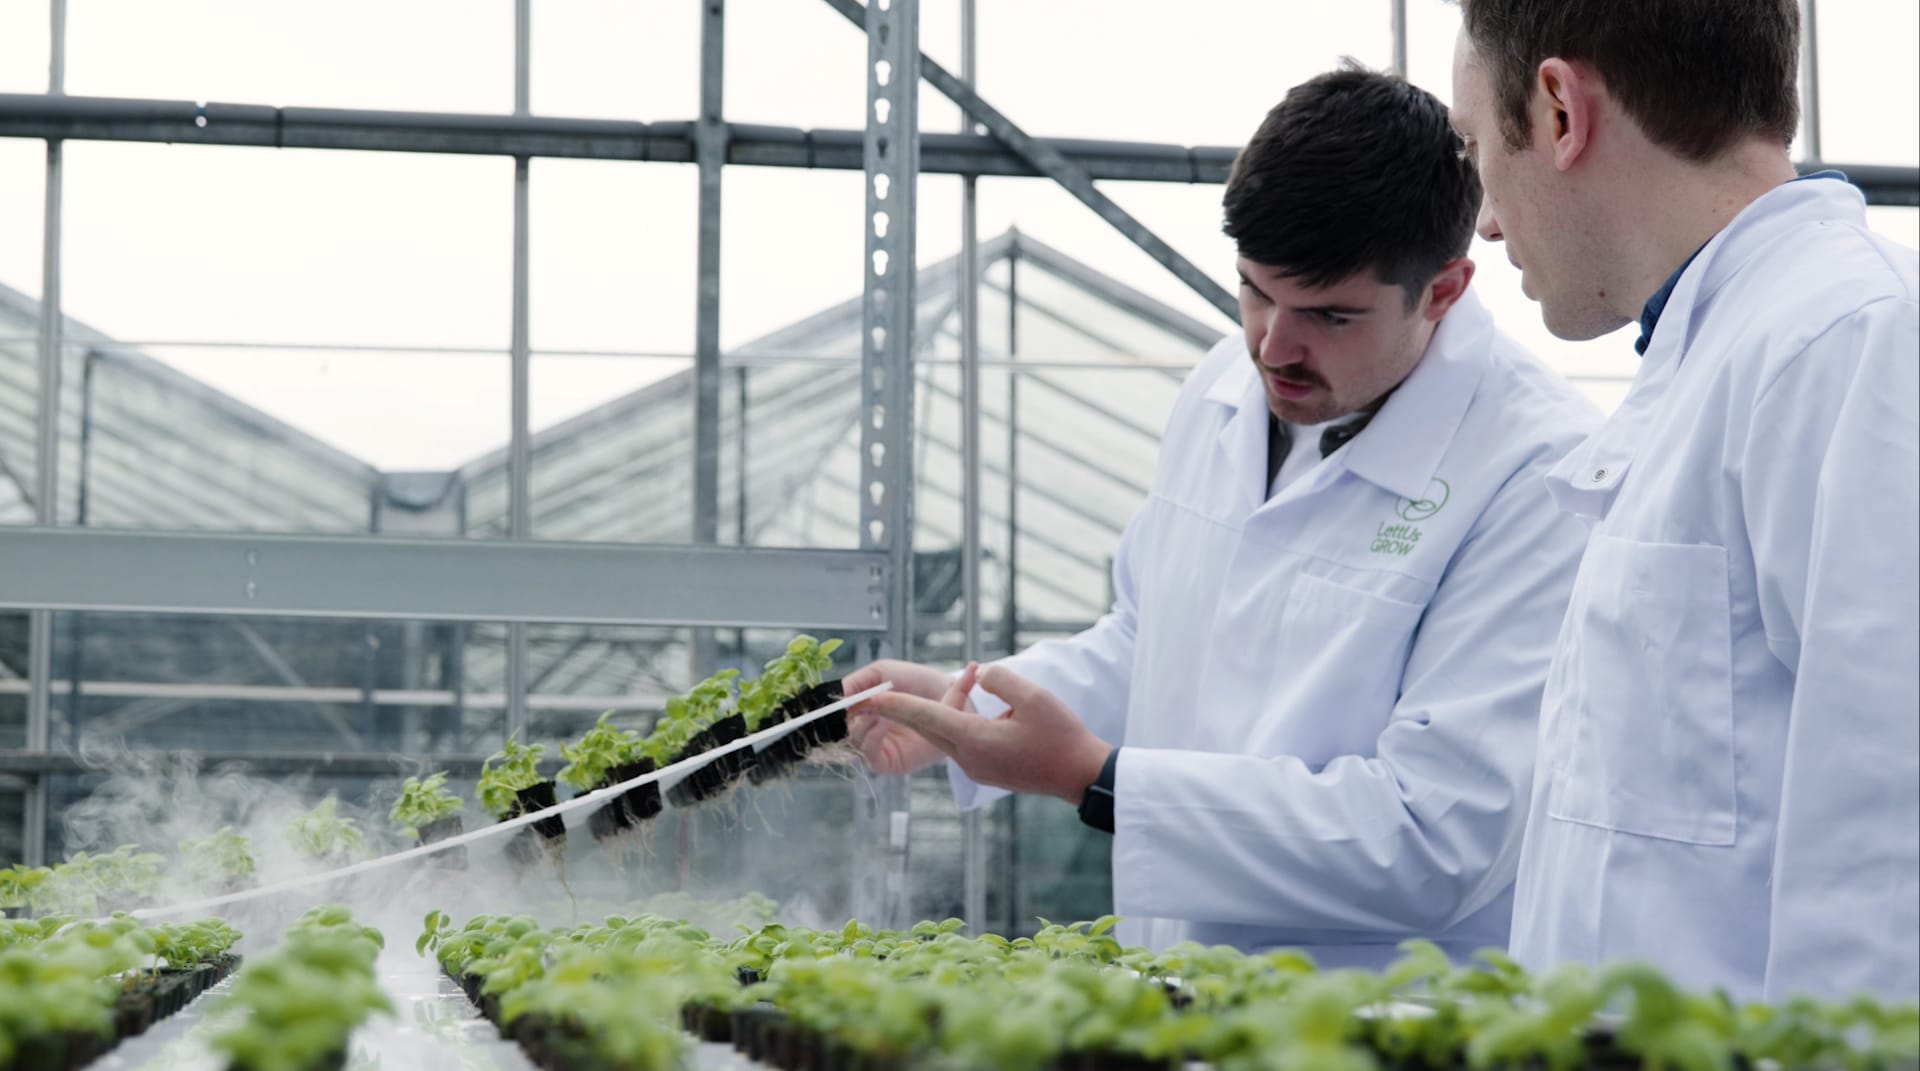
[April 10, 2024 – Sycamore, IL] – LettUs Grow, experts in advanced aeroponic technology, has partnered with Innovative Growers Equipment (IGE), specialists in cutting edge greenhouse equipment manufacturing, has partnered with LettUs Grow, experts in advanced aeroponic technology, to introduce ultrasonic aeroponics to greenhouse growers across the USA and Canada. Through this partnership, IGE will…
-

Revolutionizing Agriculture with Vertical Grow Rack Systems: Advantages and Benefits
In the ever-evolving landscape of agriculture, innovative solutions are the key to maximizing efficiency, sustainability, and productivity. Among the latest advancements in the field, Vertical Grow Rack Systems have emerged as a game-changer for growers seeking to optimize space and resources while ensuring bountiful yields. In this blog post, we’ll delve into the numerous advantages…
-

US: Hydrofarm and CEA Advisors enter into strategic alliance
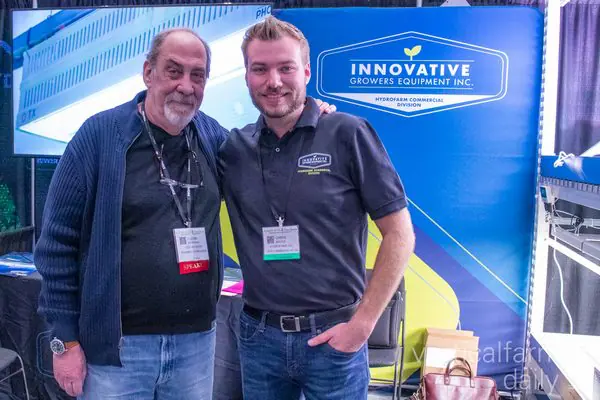
“Hydrofarm Holdings Group, Inc. has entered into an exclusive strategic alliance with CEA Advisors to accelerate their expansion into the growing and evolving CEA space for both food and non-food production. Hydrofarm’s Innovative Growers Equipment (IGE) commercial division will serve as the North American manufacturing and marketing hub for Growtainers and Growracks. IGE’s Sycamore, Illinois,…
-
Hydrofarm Signs Agreement to Acquire Innovative Growers Equipment; Announces Preliminary 3Q21 Financial Results and Provides Updated Full Year 2021 Outlook
Announces Closing of Senior Secured Term Loan Facility Commercial Benching, Racking and LED Lighting Systems Manufacturer Further Diversifies Hydrofarm’s Portfolio of Controlled Environment Agriculture Products FAIRLESS HILLS, Pa., Oct. 26, 2021 (GLOBE NEWSWIRE) — Hydrofarm Holdings Group, Inc. (“Hydrofarm” or the “Company”) (Nasdaq: HYFM), a leading distributor and manufacturer of hydroponics equipment and supplies for controlled environment…
-

Hanwha Techwin Helping IGE Stay at the Top of the Horticulture Market
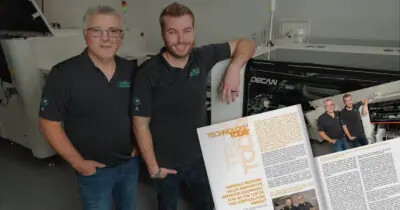
Founded in 2016 by Chris Mayer and Bruce Zierk and headquartered in Sycamore, IL, Innovative Growers Equipment (IGE) is known as the premier equipment supplier to commercial growers throughout North America that specializes in building custom “Made in the USA” Ebb & Flow greenhouse benches, matching expanded metal benches, grow racking systems, airflow solutions, lighting…
-

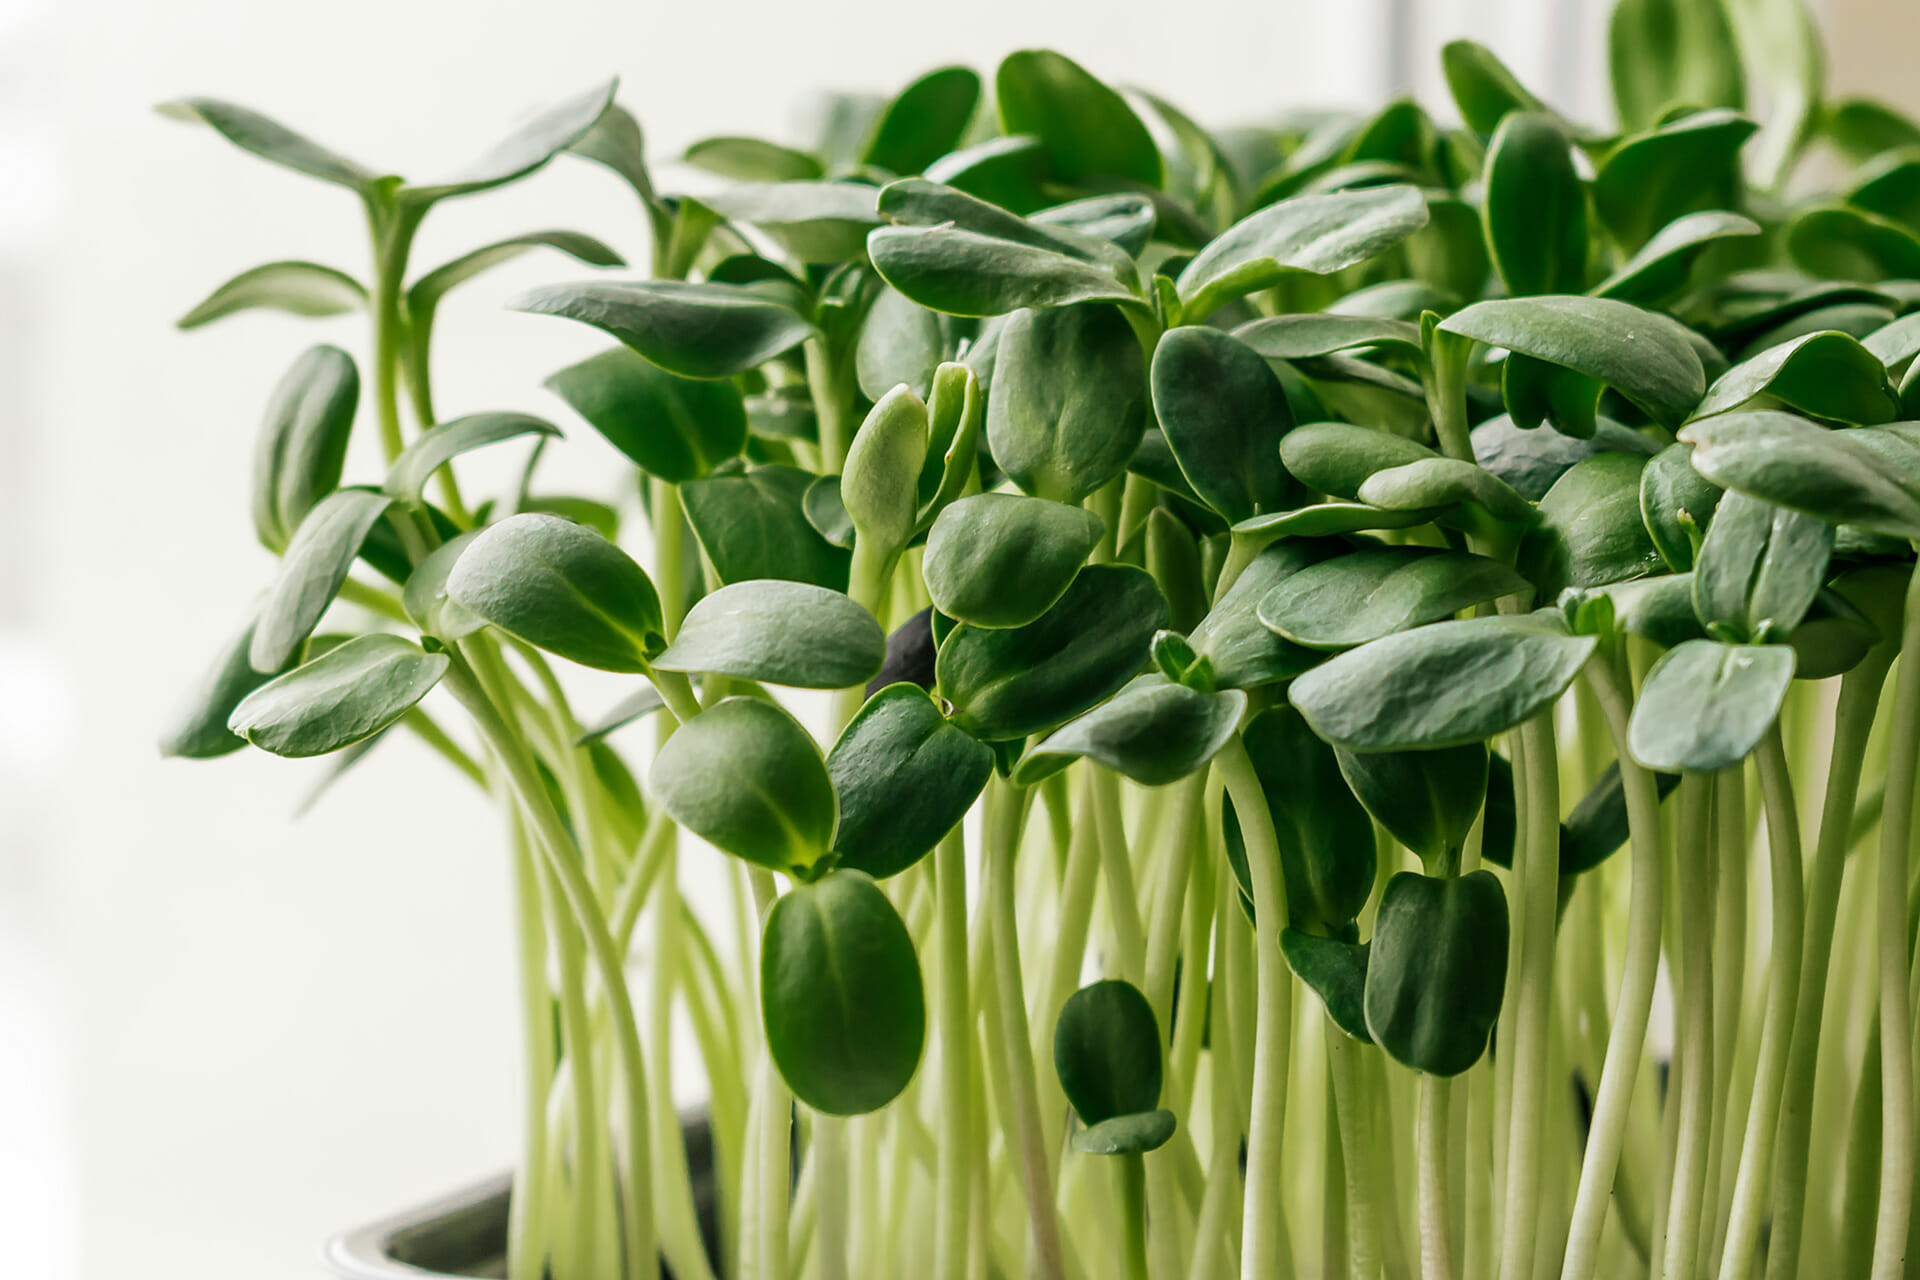
Microgreens Production
Microgreens production can be a great option when selecting a product to start a small business or to expand your current market. Why? Microgreens are relatively easy to grow in comparison to other crops and cycles are very short. Therefore, you can quickly learn and improve your production technique, correct mistakes and become a good…
-
Cultivate ’20 Virtual
IGE was part of the Virtual version of Cultivate in 2020. Cultivate’20 Virtual is an 100% online event that brings you the high-quality learning and peer-to-peer engagement that you’ve always received at Cultivate. From world-class education sessions, to on-line discussion forums, to making new connections with exhibitors. For nearly 100 years, Cultivate has been known…